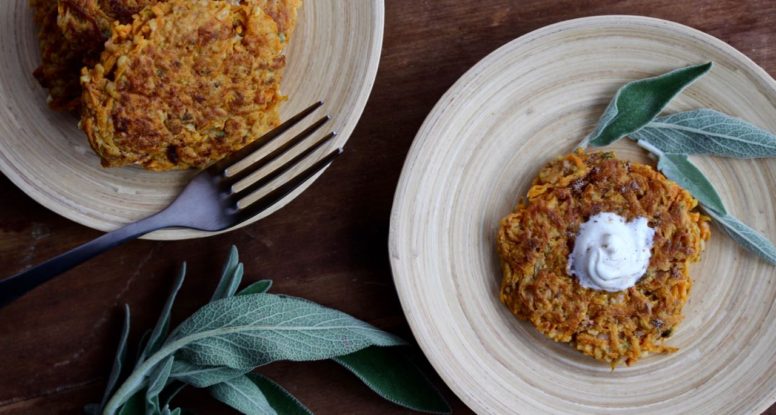
Tired of butternut squash soup? Have you made millions of butternut squash “noodles?” Need a new recipe for using up that beautiful winter vegetable? I’ve got the perfect recipe for you! These Butternut Squash Rosti are just what your belly is calling for, I promise!
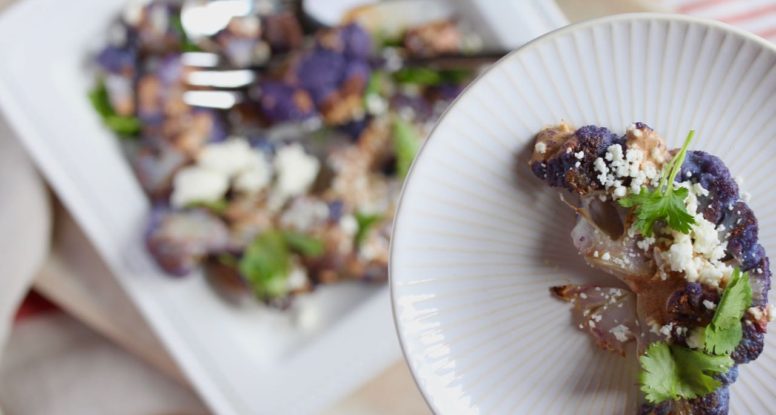
Cauliflower is having a moment right now.
Some may argue it’s moment is over, but not me. Never one to shy away from a culinary or food trend, I wanted to give the roasted cauliflower “steak” a try. Well, so here’s the thing about me, I am NOT patient. Not one little bit. So all of that fuss of carefully and perfectly slicing that cauliflower and then to have millions (exaggeration) of pieces of cauliflower fall off – well, it just frustrated the crust out of me!
I’m trying to convince you that quinoa’s “moment” isn’t over!
In fact, in my opinion, this little powerfully nutritious seed, is still something that should be a staple at your dinner table.
Besides being nutritious, quinoa is super easy to prepare. All you need is some water, salt and a pot and 15 minutes. Yes, that’s it. Simple.
And get this, it freezes beautifully! Yes, it does! Simply let it cool and then place it into a freezer bag. Break off pieces as you need it and enjoy. It’s magical!
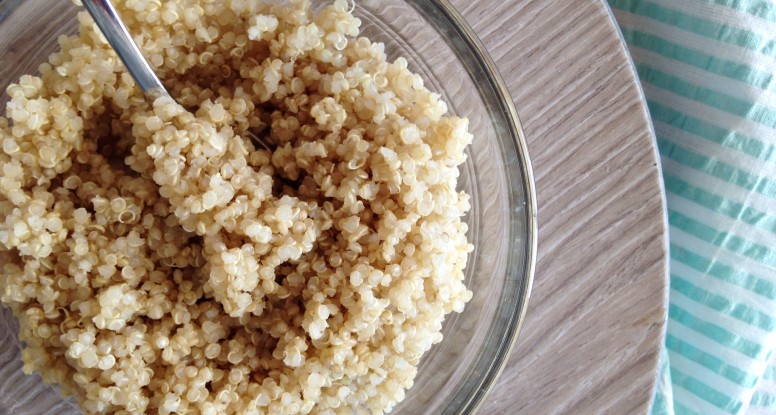
And here are the pretty picture of Freezer Quinoa:
Freezer Quinoa
Description
Make it once, enjoy it many times! This recipe makes a big batch of quinoa perfect for freezing!
Ingredients
- 1 cup quinoa
- 2 cups water
- 1/4 teaspoon Kosher salt
Instructions
- Place quinoa and water in a saucepan and bring to a boil over medium-high heat. Season with salt and reduce heat to a simmer and cook, uncovered for about 15 minutes. Drain off any excess liquid.
- For faster cooling, spread cooked quinoa out onto a sheet pan.
- Once cooled, place quinoa in a re-sealable freezer bag. Label and store in the freezer.
Notes
- Makes 3 cups of quinoa.
Nutrition
- Calories: 626
- Sugar: 0
- Sodium: 617
- Fat: 10
- Saturated Fat: 1
- Unsaturated Fat: 8
- Trans Fat: 0
- Carbohydrates: 109
- Protein: 24
- Cholesterol: 0
It’s getting personal here. I love nuts. Yes, I do. So you can just imagine the absolute joy I experienced when I saw that the theme for this month’s Recipe Redux was nuts. “What!? Really?” I’m pretty sure I gasped that exact sentence when I read the good news. Then, just excitement…what was I going to make to celebrate my love for nuts? Immediately, I went to my new obsession (yes, I have a new one now, pumpkin has taken 2nd place), butternut squash. Just what could I do with that?
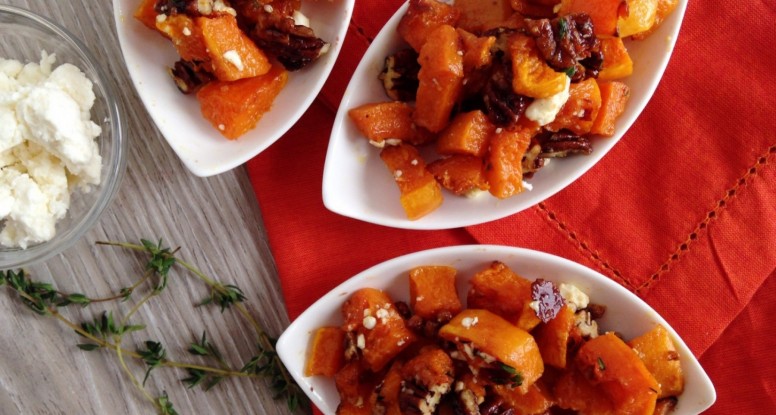
Oh yes, yes, I’ve got it, Butternut Squash with Brown Sugar Roasted Pecans!
Um, it’s pure heaven. Because who doesn’t love roasted, sweet butternut squash? And who doesn’t adore candied pecans or tangy feta cheese? Right? And so, how about I put all of those together? Um, ok, done! This one is really good people…it got two thumbs up around here in my house and I have to say that I’ve been going back to my fridge multiple time for big, heaping spoonfuls. Pair it with a roasted chicken or turkey or add it to a salad made with dark greens. And just a word of advice, you’ll want to make a double batch.
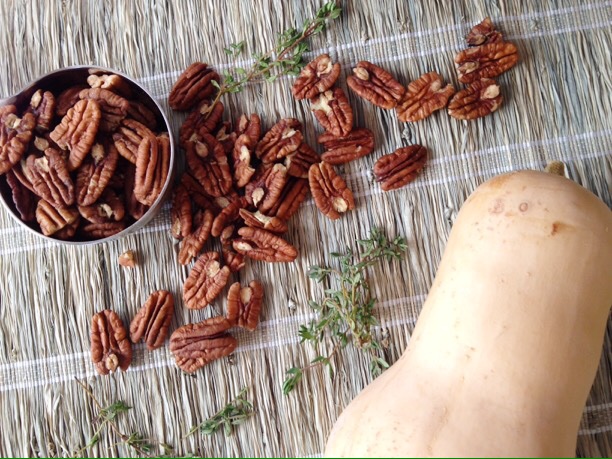
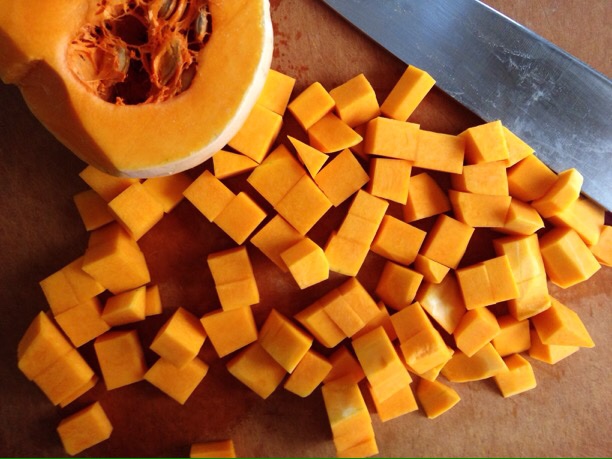
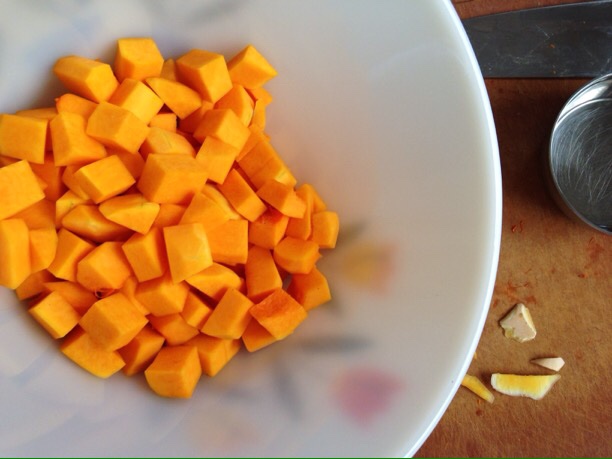
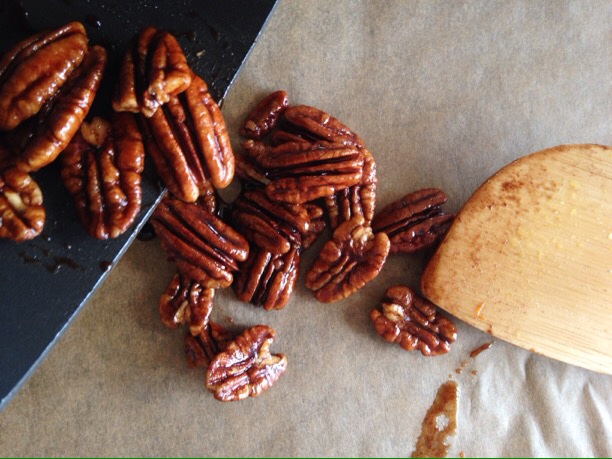
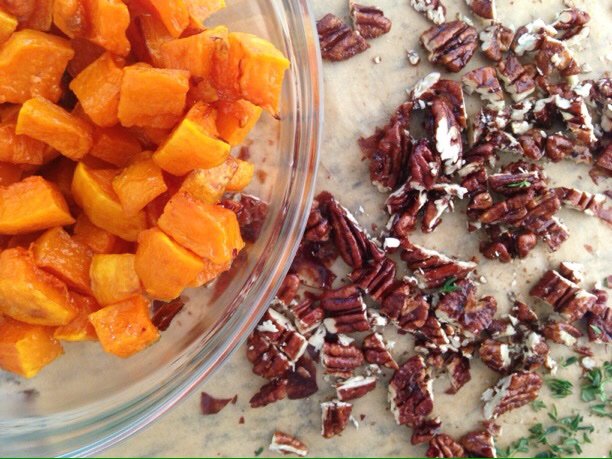
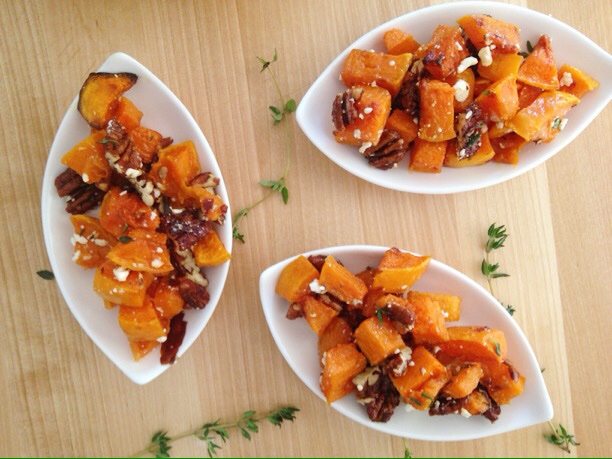
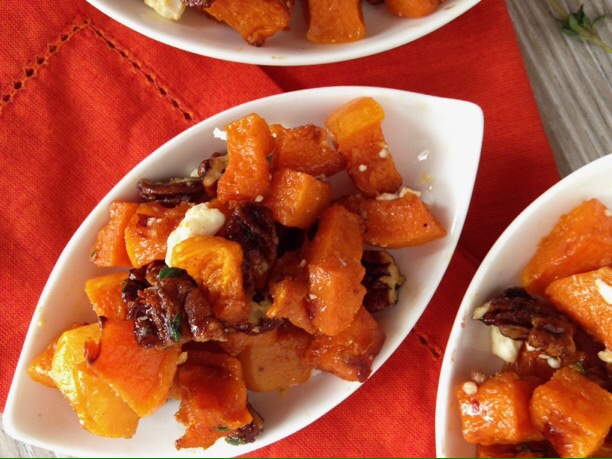
The Picture Montage Honoring The Fabulous Butternut Squash with Brown Sugar Roasted Pecans
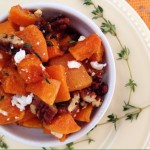
Butternut Squash with Brown Sugar Roasted Pecans
Description
A side dish that will make everyone happy. Roasted butternut squash is paired with lightly candied pecans then tossed with fresh thyme and feta cheese.
Ingredients
For the pecans
- 1 tablespoon packed brown sugar
- 1 tablespoon water
- 1/4 teaspoon ground cinnamon
- 1/4 teaspoon sea or Kosher salt
- 1/2 cup whole pecans
For the squash
- 1 butternut squash (about 1 1/2 pounds), peeled, seeded and cut into 1-inch cubes
- 1 tablespoon olive oil
- salt, to taste
- black pepper, to taste
To serve
- 1 teaspoon fresh thyme leaves, chopped
- 2 tablespoons crumbled feta cheese
Instructions
Prep
- Preheat the oven the 400’F and line one large sheet pan with foil or parchment paper and one small sheet pan with foil or parchment paper. Spray both with non-stick cooking spray.
For the pecans
- To a medium pot, add the sugar and water and bring to a boil over medium heat. Stir to dissolve the sugar. Add the cinnamon and salt and then the pecans. Cook, stirring constantly, about 1 minute or until mixture has thickened and pecans appear coated. Spread the the pecans out onto the small sheet pan and place in the oven for 5 minutes. Remove from the oven and place on a wire rack to cool.
To cook the squash
- Place the cubed squash in a large mixing bowl. Add the oil, salt and pepper and toss to coat. Spread the squash out in an even layer onto the prepared, large, rimmed baking sheet. Roast, stirring occasionally, until squash is tender and lightly brown, about 30-35 minutes.
- Transfer roasted squash back to the mixing bowl. Roughly chop the pecans and add to the squash along with the thyme and feta cheese. Toss to combine and serve.
Notes
- This recipe makes about 2 cups squash. About a 1/2 cup serving each for four people.
Nutrition
- Serving Size: 4
- Calories: 143
- Sugar: 4
- Sodium: 240
- Fat: 13
- Saturated Fat: 2
- Unsaturated Fat: 11
- Trans Fat: 0
- Carbohydrates: 6
- Protein: 2
- Cholesterol: 4
Looking to “amp-up” your freezer-meal arsenal? Have no fear, because my Basic Black Beans are here!
Ok, so that was a little hokey, but it’s true! This month’s theme for the Recipe Redux was to share one of our favorite freezer meals. Immediately, I thought of my favorite recipe for basic black beans. How many times have they saved my life? More than I can count, let’s just say that.
What’s so great about these beans? EVERYTHING!
I’m not joking. They are just an all-around hero in my house and let me tell you why. First, they are made from scratch and that makes for some pretty perfect beans. Oh, I hear you mocking me about that, but hear me out. When you cook beans from scratch, you get to flavor them and control their firmness. Have you ever tried to eat a bean from a can, just by itself? It’s not that great, right? Generally flavorless and slightly on the mushy side, right? Well, those beans have their purpose, but not when I just want to sit down and eat a bowl full. Second, these beans are freezer champions. Meaning, you can stick these beauties in the freezer and then break off bits and pieces when you want them. It’s amazing and such a time saver!
Oh, I can almost hear you now…”Sara, this is great, but what the heck am I going to do with all of these beans?”
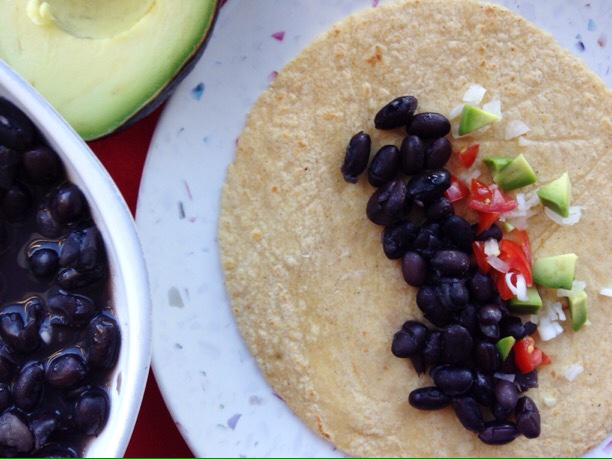
Don’t freak out! I wouldn’t leave you hanging like that! There’s sooooo much you can do with these. First, you can literally just eat them out of the pot like soup. Top a bowl of black beans with Greek yogurt, a little salsa and cheddar cheese and you’ve got an amazing meal. Or, drain them and add them to tacos or burritos. Still not buying it? Try mashing them up and putting them in a quesadilla or on top of a piece of whole grain toast along with some avocado. Sound good? Whew…now go make them and see for yourself!
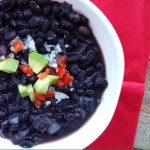
Basic Black Beans From Scratch
Description
With just a little planning, delicious black beans can be yours to be used in any meal. These beans freeze well, so enjoy some now and stick them in the freezer to have later.
Ingredients
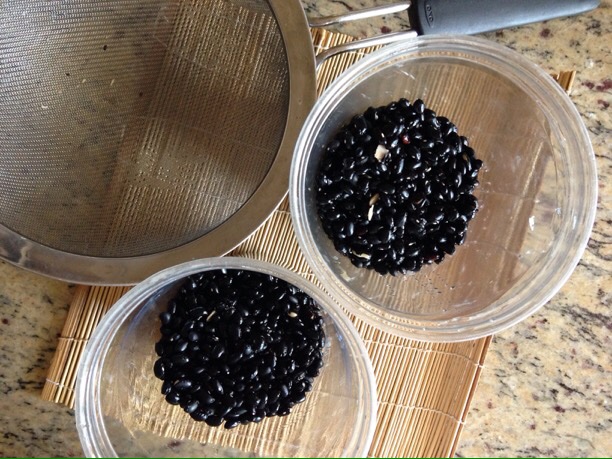
- 1 pound dried black beans, sorted and rinsed
- 1 tablespoon olive oil
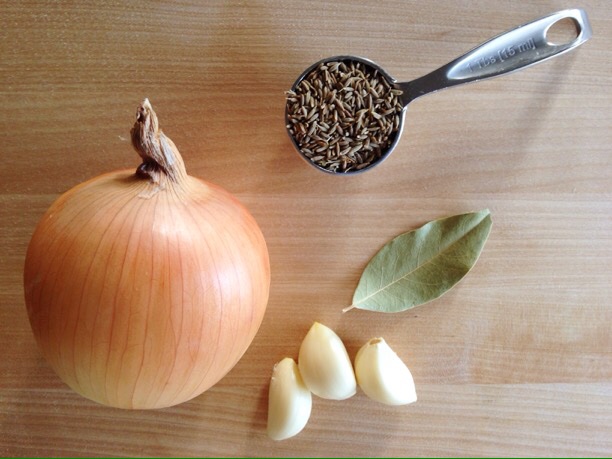
- 1 yellow onion, chopped
- 1 tablespoon cumin seeds
- 6 cups water
- 3 cloves garlic, peeled and left whole
- 1 bay leaf
- 1 teaspoon Mexican oregano
Instructions
The night before
- Place the rinsed black beans in one or two large, sealable container(s) and pour enough water over them to cover by a few inches (they’ll expand a little, so give them room!)
To cook the beans
- Heat the oil in a large pot set over medium heat. Add the onion and cook until softened, about 5 minutes. Add the cumin seeds, stirring and cook an additional 1 minute.
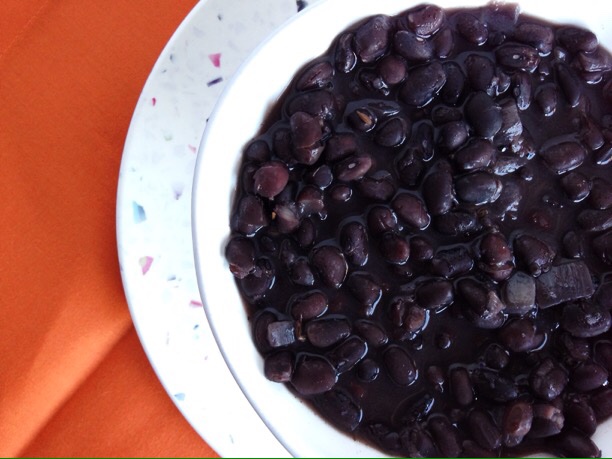
- Drain the beans from the soaking liquid (you can toss the soaking liquid) and place in the pot with the onions and cumin. Add the water, garlic and bay leaf. Bring to a boil. Stir, then reduce the heat to a simmer and cover partially with a lid. Cook, stirring occasionally for about 50 minutes to 1 hour, Add the salt and cook an additional 15-20 minutes or until the beans are tender, but still holding their shape.
- Remove beans from the heat and stir in the Mexican oregano.
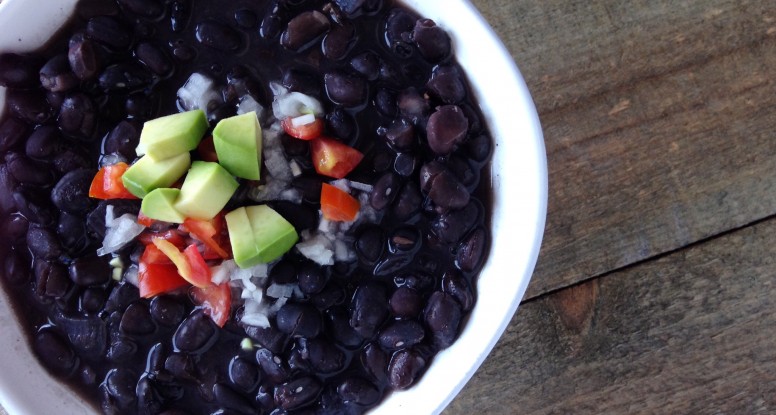
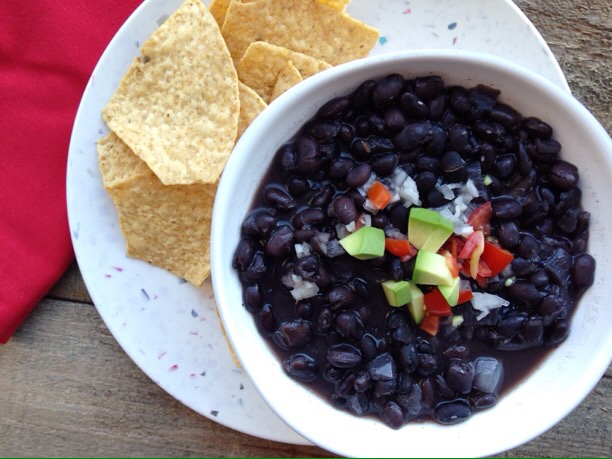
- Serve as is for the perfect side dish or drain and add to tacos or quesadillas. They can also be served as soup and topped with Greek yogurt, chopped tomatoes and fresh cilantro.
Notes
- Makes about 6 cups drained black beans.
Nutrition
- Serving Size: 12
- Calories: 146
- Sugar: 1
- Sodium: 8
- Fat: 2
- Saturated Fat: 0
- Unsaturated Fat: 1
- Trans Fat: 0
- Carbohydrates: 25
- Protein: 8
- Cholesterol: 0
Summer means simplicity. On a 90 degree day here in Chicago, the last thing I want to do is heat my house up with the oven. So, that means I need to be cooking creatively. For moments like these, I turn to the grill. Sure, it’s hot, but that heat’s outside, where it belongs.
While some people use their grill mostly for steaks, burgers and brats, I tend to use mine more for vegetables. Sure, I love a good flank steak or turkey burger, but grilled vegetables are just plain good food. Plus, they are the perfect addition to almost any meal.
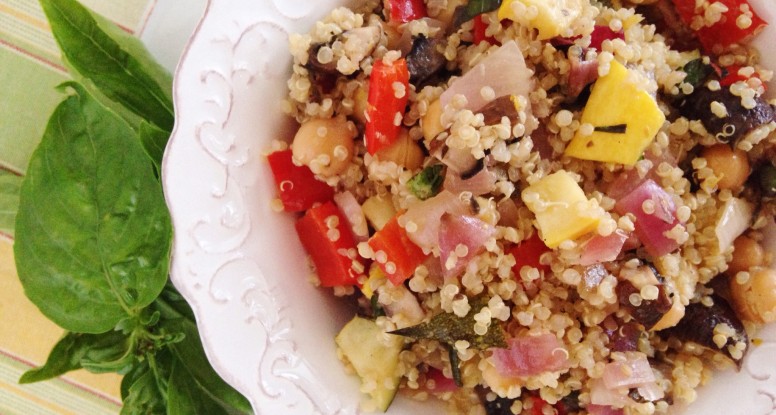
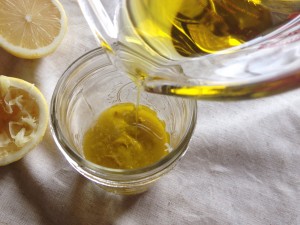
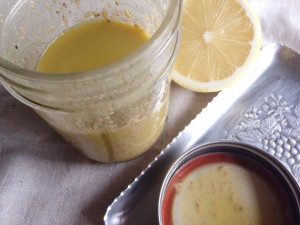
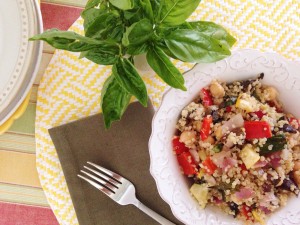
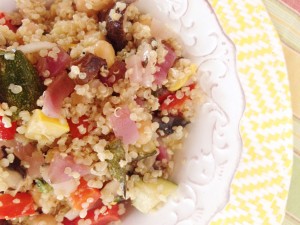
Which brings me to my Lemon Garlic Quinoa with Grilled Vegetables. It’s a recipe that starts with a dual purpose marinade. Yes, it’s a marinade, first and foremost, adding tons of flavor to the vegetables, but it’s also used to season the quinoa. Who doesn’t love making something once and using it twice!?
Here’s the best part! This is a dish you can feel good about serving your family and guests. It’s a nutritious food gift from me to you. All wrapped up in vitamin-rich vegetables, fiber-rific beans and perfect-protein quinoa. So grab a bowl and fill it up and put a bow on it. Enjoy your gift (but don’t eat the bow!)!
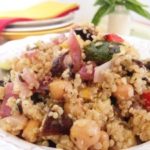
Lemon Garlic Quinoa with Grilled Vegetables
Description
A simple summer meal that satisfies.
Ingredients
- 2 tablespoons Dijon mustard
- 1 lemon, zested and juiced
- 4 garlic cloves, grated or finely chopped
- 1/3 cup olive oil
- ground black pepper, to taste
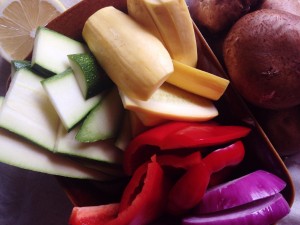
- 1 red bell pepper, stemmed seeded and cut into planks
- 1 zucchini, cut into planks lengthwise
- 1 yellow squash, cut into planks lengthwise
- 1 red onion, cut into 1/2 inch round slices
- 1 cup quinoa, rinsed
- 2 cups water
- 1/4 teaspoon salt
- 1–15 ounce can garbanzo beans, drained and rinsed, or about 1 3/4 cup cooked garbanzo beans 1/2 cup basil, thinly sliced
Instructions
To make the marinade
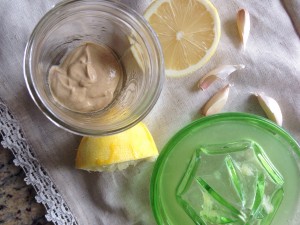
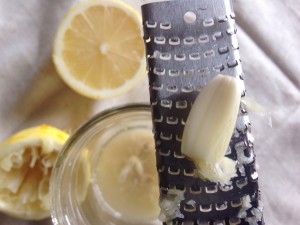
- Combine the mustard, lemon juice, garlic, black pepper and olive oil in a jar. Screw on the lid and shake well to combine. Alternatively, place the mustard, lemon juice, garlic and black pepper in a small bowl and whisk together. Stream in the olive oil, whisking until fully incorporated. Pour half of the mixture into a re-sealable bag and add the pepper, zucchini, squash and red onion. Cover the remaining marinade and refrigerate. Re-seal the bag and massage marinade into vegetables. Place in the refrigerator and marinate for at least 30 minutes and up to 2 hours.
To cook the quinoa
- Place quinoa and water in a saucepan and bring to a boil over medium-high heat. Season with salt and reduce heat to a simmer and cook, uncovered for about 15 minutes. Drain off any excess liquid. Set aside.
To grill the vegetables
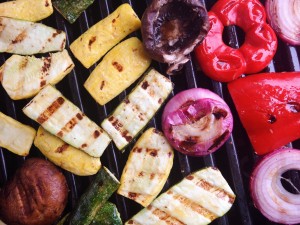
- Preheat grill to medium high heat. Clean grill grates and brush lightly with vegetable oil. Remove the vegetables from the bag. Place the vegetables on the grill and cook vegetables on both sides until grill marks form, about 5-10 minutes per side. Remove from the grill.
To make the dish
- Transfer the quinoa to a large bowl and toss with the reserved marinade. Chop the grilled vegetables and add to the quinoa, along with the lemon zest, chickpeas and basil. Stir and serve.
Notes
- Makes 8 cups
Nutrition
- Serving Size: 6
- Calories: 378
- Sugar: 7
- Sodium: 176
- Fat: 16
- Saturated Fat: 2
- Unsaturated Fat: 13
- Trans Fat: 0
- Carbohydrates: 48
- Protein: 13
- Cholesterol: 0

